Blockbench: Modeling, Texturing & Animating

Blockbench is a free software designed to make Minecraft modeling, texturing, and animating possible. It is available for mobile browsers, Windows 10, and macOS.

Please install it at blockbench.net

Modeling

Let's get started.

  1. Open Blockbench.
  2. Choose File > New > Bedrock Model. This is important because Minecraft Bedrock will not be able to read Java models.

A screen like this will have popped up:

Blockbench New Bedrock Model Dialog Box
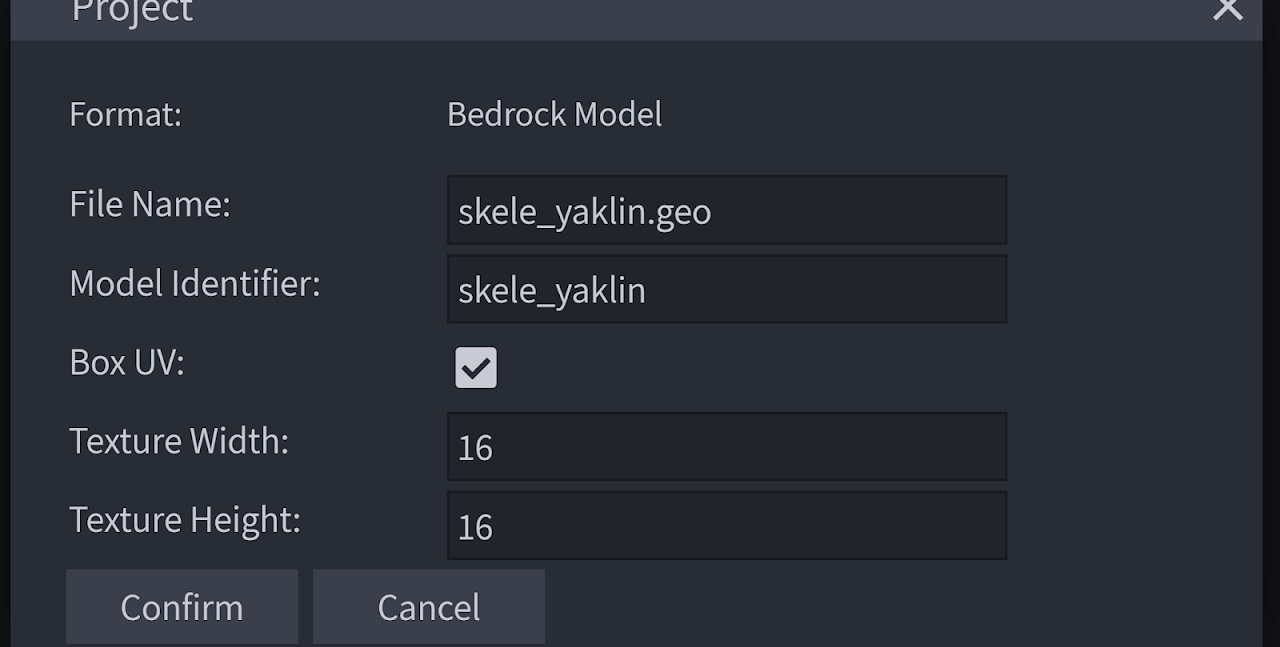
  • File name: Name for your geometry file (e.g., ghost.geo.json). My file will generate as "skele_yaklin.geo.json".
  • Model Identifier: An ID for the model itself (e.g., ghost). A short name for this ID will be defined later (like geometry.ghost).
  • Box UV: Has to be checked on for automatic UV editing and unwrapping for texturing.
  • Texture Width / Height: Defines the resolution of the model's textures (e.g., 64x64).

Press confirm. You'll see a screen like this:

Blockbench Main Editor Interface

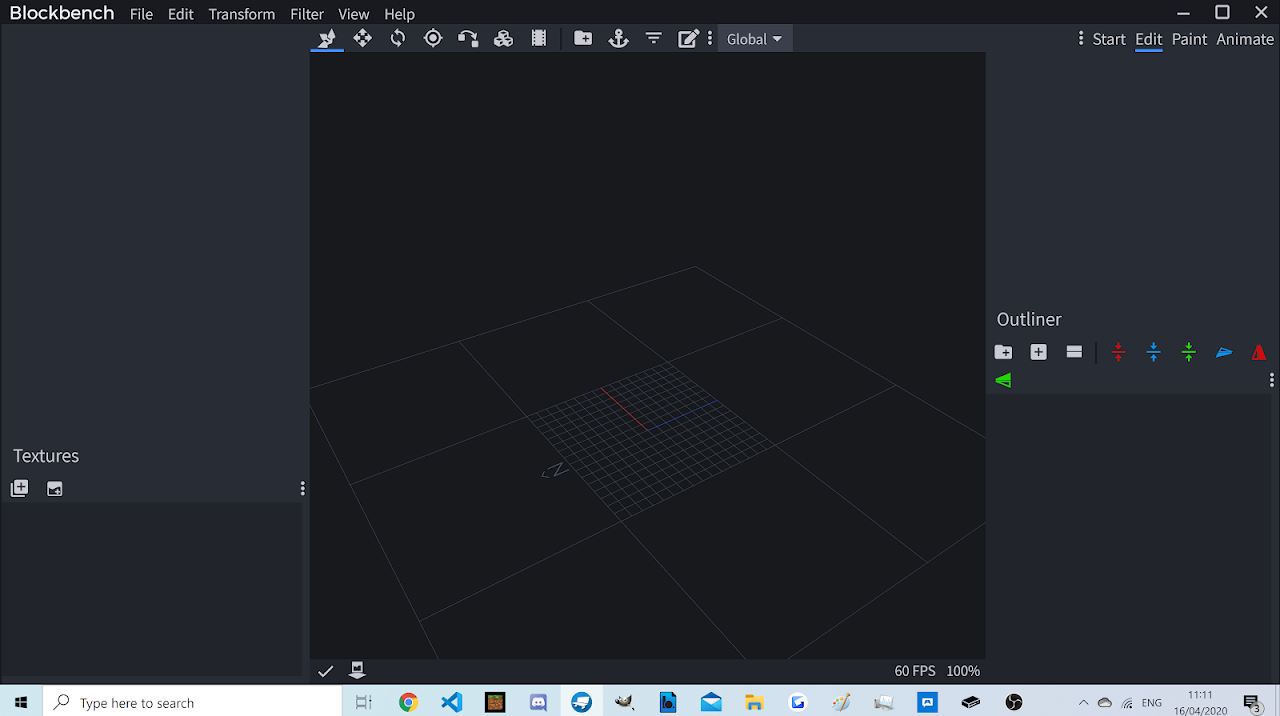
You can see many tools here: move, resize, rotate, etc.

You can add bones and cubes in the menu on the right-bottom corner. Cubes can rotate on their own; the bones will carry everything in them along.

Now, you are ready to create your model! For more in-depth tutorials on modeling, please check out the videos by Everbloom Studio below.


Texturing

Now that you have your model in place let's start texturing!

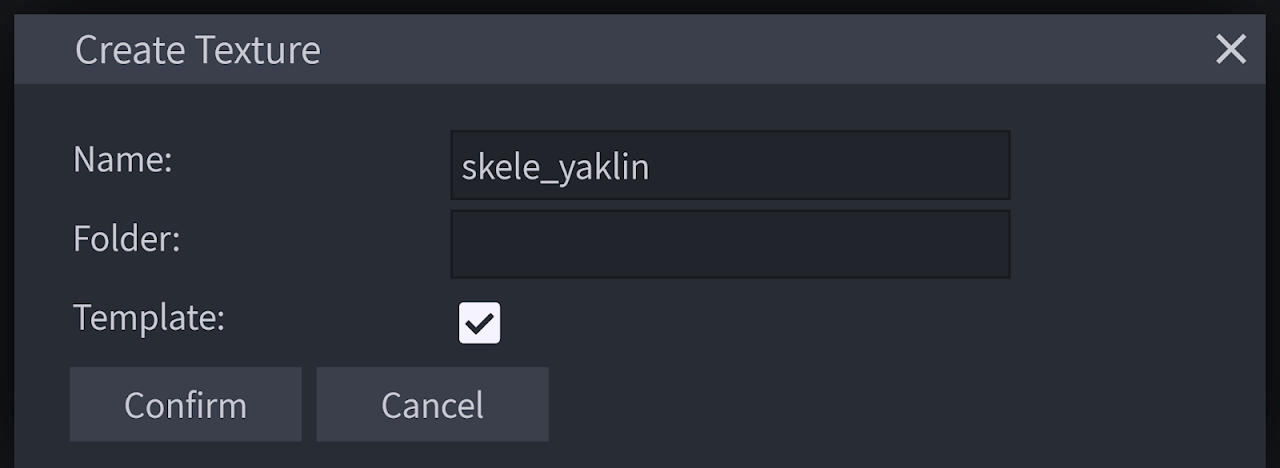
  1. On the left-bottom panel (Texture List), click "Create Texture".
  2. Write down your image file name under "Name:". Mine will export as ghost.png.
  3. Check "Template:" to make a template texture - it'll be easier to work with.
  4. Blockbench Create Texture Dialog
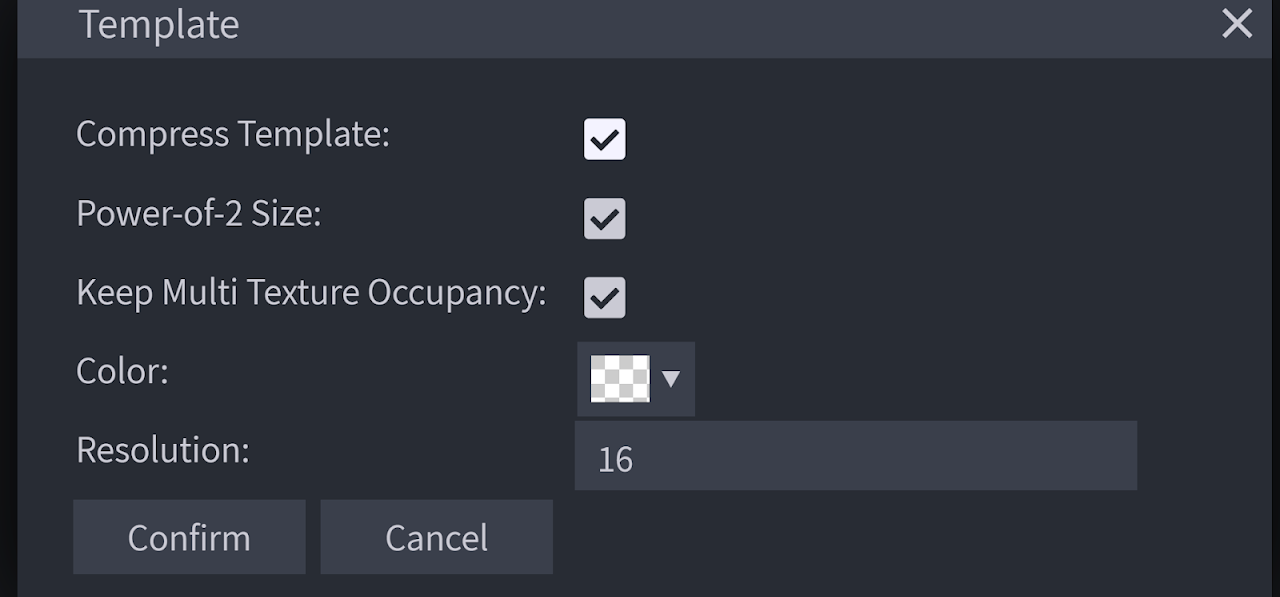
  5. Check everything and change your resolution to the one you set in the very first step.
  6. Blockbench Texture Settings Confirmation
  7. Click Confirm.
  8. Go to "Paint" in the upper right corner and paint your texture.

Blockbench offers powerful painting tools. Explore brushes, color palettes, gradients, and layers to create detailed textures.


Animating

Once your model and texture are done, you can start animating. Go to "Animate" in the upper right corner.

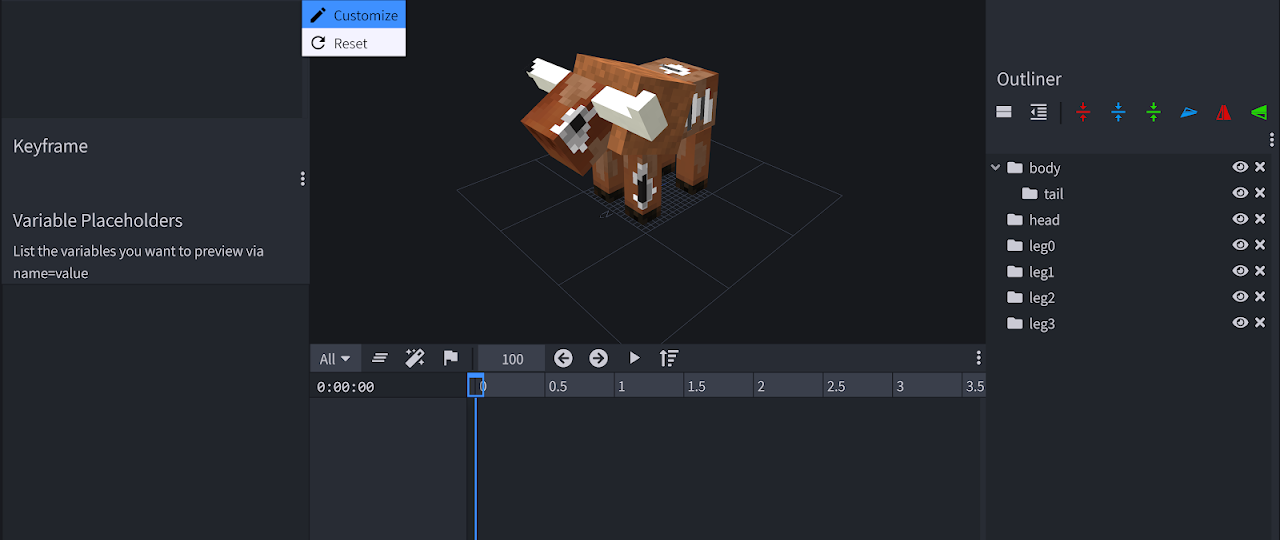
You might want to adjust one of the toolbars by adding "Export Animations" and "Import Animations" like this:

Blockbench Toolbar Customization Example
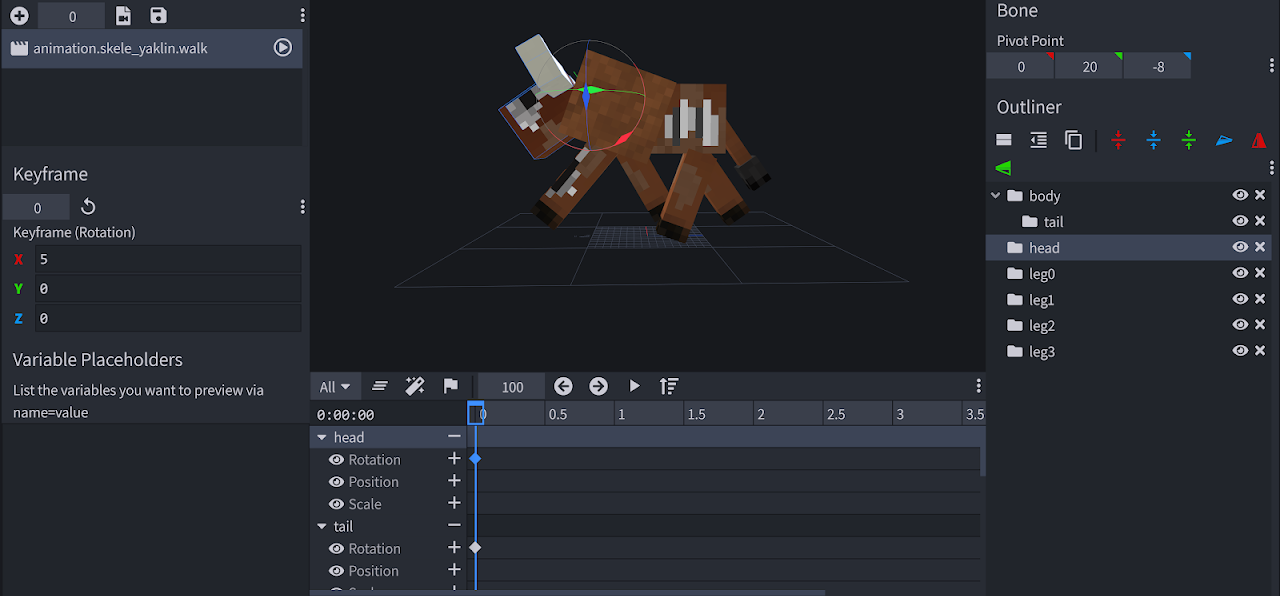
  1. Click "Add Animation" [the plus icon on the top right side] and name it animation.{yourEntityName}.move.
  2. Create the first frame of your walking animation under 0 on the timeline by moving the legs.
  3. Blockbench Animation Timeline - Frame 1
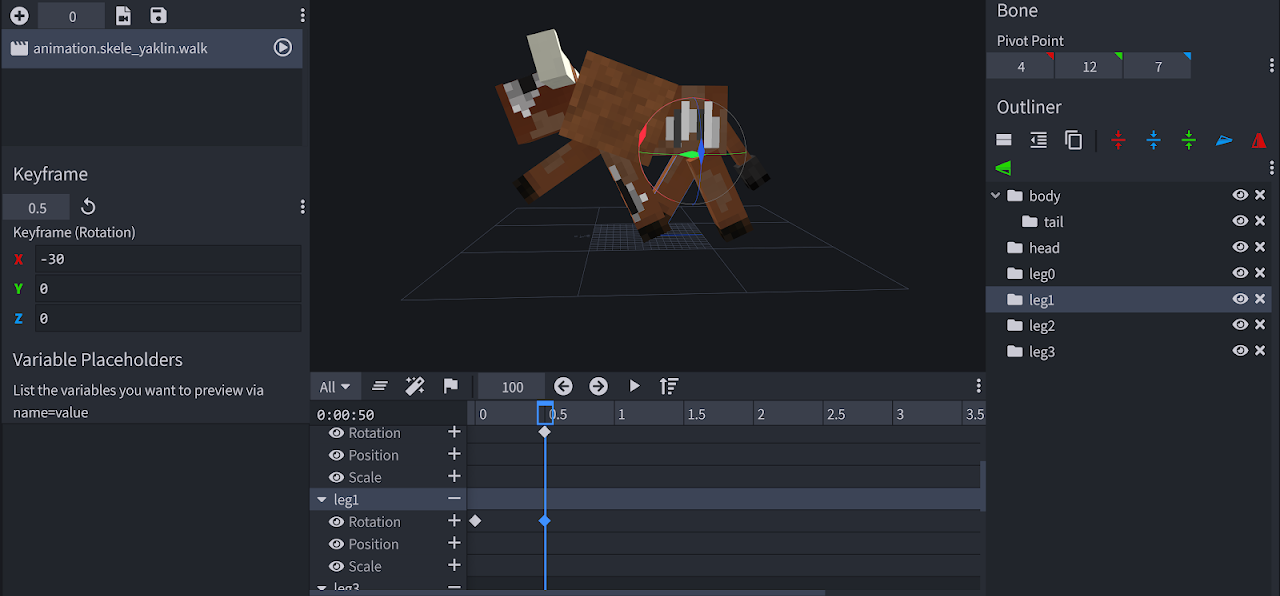
  4. Create the second frame under 0.5 on the timeline.
  5. Blockbench Animation Timeline - Frame 2
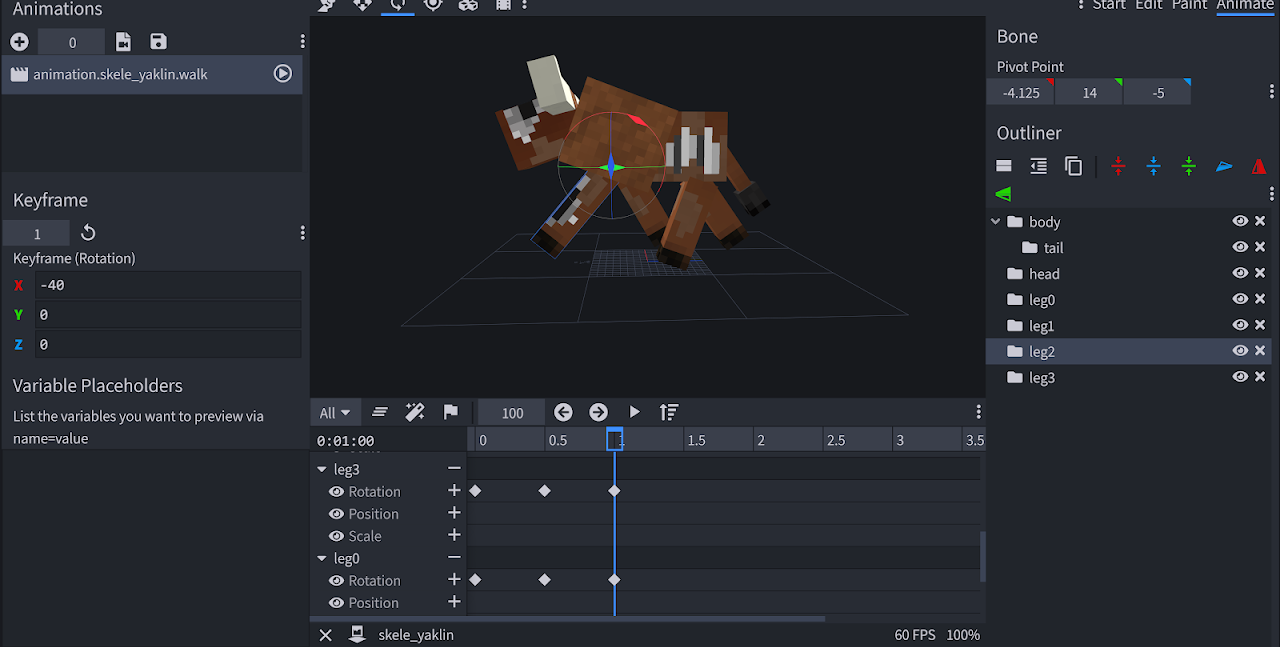
  6. Finally, copy the first frame to the third frame by placing your timeline cursor on 1.0 and selecting the first frame, then ctrl+c, ctrl+v.
  7. Right-click the animation and tick "Loop" for the animation to loop.
  8. Blockbench Animation Settings - Loop Toggle

Repeat this process to create other animations like idle, attack, etc.


Saving Your Work

Now that our model, texture, and walk animation are complete, you can save your work.

Go to File > Save Model or File > Export Bedrock Geometry. Save the model in RP/models/entity/, the texture in RP/textures/entity/ and the animation in RP/animations/.

Congratulations! You've successfully created your first entity's visuals!

You can see the file examples below.

Meanwhile, why not upgrade the visuals of your own unique entities or create another one?

Example Exported Files:

Show Example ghost.geo.json
RP/models/entity/ghost.geo.json
{     "format_version": "1.12.0",     "minecraft:geometry": [         {             "description": {                 "identifier": "geometry.ghost",                 "texture_width": 64,                 "texture_height": 64,                 "visible_bounds_width": 3,                 "visible_bounds_height": 3.5,                 "visible_bounds_offset": [0, 1.25, 0]             },             "bones": [                 { "name": "root", "pivot": [0, 3, 0] },                 {                     "name": "body",                     "parent": "root",                     "pivot": [0, 4.625, 0],                     "cubes": [                         {                             "origin": [-4, 3, -4],                             "size": [8, 13, 8],                             "uv": [0, 20]                         }                     ]                 },                 {                     "name": "leftArm",                     "parent": "body",                     "pivot": [4.6, 15.5, 0.5],                     "cubes": [                         {                             "origin": [4.1, 7, -1],                             "size": [3, 9, 3],                             "uv": [32, 32]                         }                     ]                 },                 {                     "name": "rightArm",                     "parent": "body",                     "pivot": [-4.5, 15.5, 0.5],                     "cubes": [                         {                             "origin": [-7.1, 7, -1],                             "size": [3, 9, 3],                             "uv": [32, 20]                         }                     ]                 },                 {                     "name": "head",                     "parent": "body",                     "pivot": [0, 16, 0],                     "cubes": [                         {                             "origin": [-5, 16, -5],                             "size": [10, 10, 10],                             "uv": [0, 0]                         }                     ]                 }             ]         }     ] } 
Show Example ghost.a.animations.json
RP/animations/ghost.a.animations.json
{     "format_version": "1.8.0",     "animations": {         "animation.ghost.idle": {             "loop": true,             "animation_length": 3,             "bones": {                 "body": {                     "rotation": { "0.0": [10, 0, 0], "3.0": [10, 0, 0] },                     "position": {                         "0.0": [0, 0, 0],                         "1.5": [0, 1, 0],                         "3.0": [0, 0, 0]                     }                 },                 "leftArm": {                     "rotation": {                         "0.0": [-10, 0, 0],                         "1.5": [-5, 0, 0],                         "3.0": [-10, 0, 0]                     }                 },                 "rightArm": {                     "rotation": {                         "0.0": [-10, 0, 0],                         "1.5": [-5, 0, 0],                         "3.0": [-10, 0, 0]                     }                 },                 "head": {                     "rotation": {                         "0.0": [-7.5, 0, 0],                         "1.5": [-2.5, 0, 0],                         "3.0": [-7.5, 0, 0]                     }                 }             }         },         "animation.ghost.attack": {             "animation_length": 0.75,             "bones": {                 "body": {                     "rotation": {                         "0.0": [10, 0, 0],                         "0.2917": [10, 15, 0],                         "0.5": [22.5, -12.5, 0],                         "0.75": [10, 0, 0]                     },                     "position": {                         "0.0": [0, 0, 0],                         "0.2917": [0, 0, 3],                         "0.5": [0, 0, -3],                         "0.75": [0, 0, 0]                     }                 },                 "leftArm": {                     "rotation": { "0.0": [-10, 0, 0], "0.75": [-10, 0, 0] }                 },                 "rightArm": {                     "rotation": {                         "0.0": [-10, 0, 0],                         "0.2083": [-10, 0, 0],                         "0.2917": [-10, 62.5, 117.5],                         "0.5": [-80, -17.5, 22.5],                         "0.75": [-10, 0, 0]                     }                 },                 "head": {                     "rotation": { "0.0": [-7.5, 0, 0], "0.75": [-7.5, 0, 0] }                 }             }         },         "animation.ghost.move": {             "loop": true,             "animation_length": 1,             "bones": {                 "body": {                     "rotation": {                         "0.0": [15, 0, 0],                         "0.25": [15, -2.5, 0],                         "0.5": [15, 0, 0],                         "0.75": [15, 2.5, 0],                         "1.0": [15, 0, 0]                     },                     "position": [0, 0, 0]                 },                 "leftArm": {                     "rotation": {                         "0.0": [15, 0, 0],                         "0.5": [20, 0, 0],                         "1.0": [15, 0, 0]                     }                 },                 "rightArm": {                     "rotation": {                         "0.0": [15, 0, 0],                         "0.5": [20, 0, 0],                         "1.0": [15, 0, 0]                     }                 },                 "head": {                     "rotation": {                         "0.0": [-12.5, 0, 0],                         "0.5": [-15, 0, 0],                         "1.0": [-12.5, 0, 0]                     }                 }             }         }     } } 

What You Have Learned

  • How to create an entity in Blockbench.
  • How to use Blockbench to model, texture, and animate your entity.

Next Steps

You now have the visual assets for your entity! The next step is to integrate these into your Resource Pack using the Client Entity Definition file (.ce.json) and connect them to the entity's behavior. If you haven't already, proceed to the Custom Entity guide.

Next: Loot Tables & Recipes